


Convert Images to JAN Format: A Beginner’s Guide for Embroidery Enthusiasts
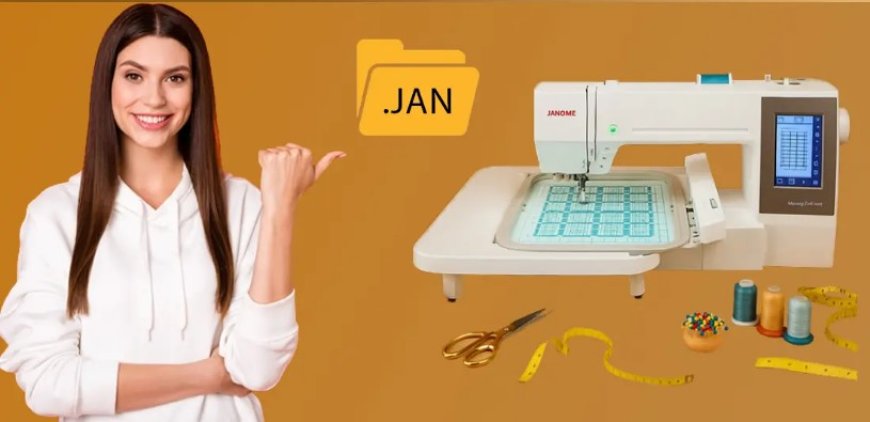
So, youve got a beautiful image or logo and want to stitch it out using yourJANOME embroidery machine but theres one problem. Your design is a JPEG, PNG, or maybe even a PDF and your machine wants a JAN file.
Sound familiar?
Dont worry Digitizing Buddy makes it easy for beginners and hobbyists alike. They specialize in converting artwork and images into JAN format (and other embroidery file types) that are perfectly compatible with Janomes software and embroidery machines. It's fast, affordable, and beginner-proofperfect for custom projects or business orders.
In this guide, well cover everything you need to know about converting your image to JAN file conversion, including what the file is, how to digitize your design, and which tools and services make it easy.
What Is a JAN File in Embroidery?
The JAN format is the native embroidery design file used by Janome's Digitizer software (especially Janome Digitizer MBX). It stores all the necessary stitch data to run an embroidery machine, including:
- Stitch type (satin, fill, run)
- Stitch direction and angle
- Color sequence
- Hooping information
- Object properties and design layers
Think of JAN as a working project filekind of like how .PSD files work for Photoshop. You can edit and adjust it freely inside Janomes software before exporting to your machine-readable format (like .JEF, which is what the Janome machine actually stitches).
Why You Cant Just Use JPG or PNG Images for Embroidery
Many beginners think they can load a photo or drawing directly into their embroidery machinebut it doesnt work that way.
Embroidery machines dont read pixelsthey follow stitch instructions. Thats where digitizing comes in.
What Is Digitizing?
Digitizing is the process of converting a flat image (like a PNG or JPG) into a stitch file. It involves:
- Manually tracing or auto-recognizing shapes
- Assigning stitch types (satin, fill, etc.)
- Adjusting density and underlay
- Mapping color changes
- Saving the result in an embroidery format like JAN, JEF, or DST
What Youll Need to Convert Images to JAN Format
To convert images into the JAN format, youll need either:
Option 1: A Digitizing Service Like Digitizing Buddy
This is the easiest and most reliable methodjust upload your image, and Digitizing Buddy will send you a clean, editable JAN file (along with other machine-ready formats like JEF or DST).
Perfect for:
- Logos
- Monograms
- Text-based designs
- Custom artwork
- Business embroidery projects
They offer:
- Fast turnaround (usually 1224 hours)
- Free revisions
- Affordable pricing
- Expert optimization for Janome software
Step-by-Step: How to Convert an Image to JAN Format
Heres how the process usually works (whether you're using software or a digitizing service):
Step 1: Start with a Clean Image
Use a high-resolution image with:
- Clear outlines
- Few colors (35 is ideal)
- Minimal gradients or shadows
- Bold text (if any)
Vector files like SVG or AI are best, but high-quality PNGs work too.
Step 2: Digitize the Design
If youre using Janome software:
- Open the image inside Digitizer MBX
- Use auto-digitize or manual tools to convert shapes into stitches
- Assign stitch types and adjust settings (density, underlay, pull compensation)
This is where the magic happens. Youre turning art into thread.
Step 3: Save as a JAN File
Once the image is digitized:
- Click File > Save As
- Choose the .JAN format to keep it editable
- You can also export to machine-ready formats like .JEF or .DST
Now your design is saved and ready to be modified or exported whenever needed.
Pro Tips for Better Results
- Use bold, simple artwork Fine details dont stitch well on fabric
- Minimum text height: 6mm Anything smaller may be unreadable
- Avoid gradients Embroidery doesn't do well with color blending
- Know your fabric Thicker fabrics need different stitch settings
- Test before production Always stitch a sample to catch issues
Common Janome Embroidery Formats (and When to Use Them)
|
Format |
Purpose |
|
JAN |
Editable project file in Janome software |
|
JEF |
Ready-to-stitch machine file (used by Janome machines) |
|
JEF+ |
Supports larger hoops and more threads |
|
DST |
Industrial stitch file (used for multi-brand compatibility) |
Tip:
If your goal is to stitch the design on a Janome machine, youll eventually need to export your JAN file as a JEF file.
File Conversion Flow
If youre working with a digitizer or software, this is usually the flow:
JPG/PNG/SVG ? JAN File (editable) ? JEF File (machine-ready)
Want backups? Many digitizers will also send DST or EXP files for universal use.
Why Choose Digitizing Buddy for JAN Files?
Heres what sets Digitizing Buddy apart when converting images into JAN or JEF files:
Highlights:
- Manual digitizing (not auto-traced)
- Works with all Janome models and software
- Delivers JAN + JEF + other formats if needed
- Free resizing and minor edits
- Friendly support for beginners
Whether youre working on a personal gift or a big embroidery project, they make sure your file works right the first timeno stress, no guesswork.
Real-World Use Cases
Here are some awesome ways people are using JAN files:
|
Project |
Use |
|
Monogrammed towels |
Add custom initials in unique fonts |
|
Business uniforms |
Stitch a logo onto polos or jackets |
|
Etsy product lines |
Sell embroidered tote bags or patches |
|
Wedding decor |
Embroider dates or names on napkins or robes |
|
Hobby art |
Digitize drawings or doodles into thread art |
With a digitized file in JAN format, youre free to create, modify, and produce embroidery projects at your pace.
Final Thoughts: Start Stitching with Confidence
Converting images to JAN format might seem intimidating at firstbut once you understand the steps, it's a game changer for your embroidery journey. Whether you're designing for fun, business, or gifts, having an editable JAN file gives you full creative control.